How to Enable Social Media Login on Sngine - Facebook Login Setup

In today’s world of interconnected social networks, enabling social media logins can drastically improve user convenience and engagement. Sngine, a versatile and robust social networking platform, offers built-in support for Facebook login integration, making it easier for users to join your community without the hassle of remembering another username and password.
This step-by-step guide will walk you through the process of setting up Facebook login on your Sngine-based platform. By the end, you’ll have a fully functional Facebook social login feature that enhances user experience.
Why Enable Facebook Login on Your Sngine Platform?
Facebook login is a proven tool for increasing sign-up rates on websites. Here’s why you should enable it:
- Convenience for Users: One-click login eliminates the need for complex registration forms.
- Enhanced Engagement: Users are more likely to join your network if logging in is quick and seamless.
- Improved Data Accuracy: Facebook login ensures that profile data (e.g., names, email addresses) is accurate and reliable.
Prerequisites for Facebook Login Setup
Before diving into the setup process, ensure you have the following:
- A Facebook Developer Account: Sign up at Facebook Developers if you don’t already have an account.
- Administrator Access to Sngine: You must have admin rights to configure Sngine settings.
- A Live Domain: While you can test on a localhost, Facebook login works best on a live domain with SSL (https).
Step 1: Create a Facebook App
-
Log in to Facebook Developers: Visit Facebook Developers and log in with your Facebook account.
-
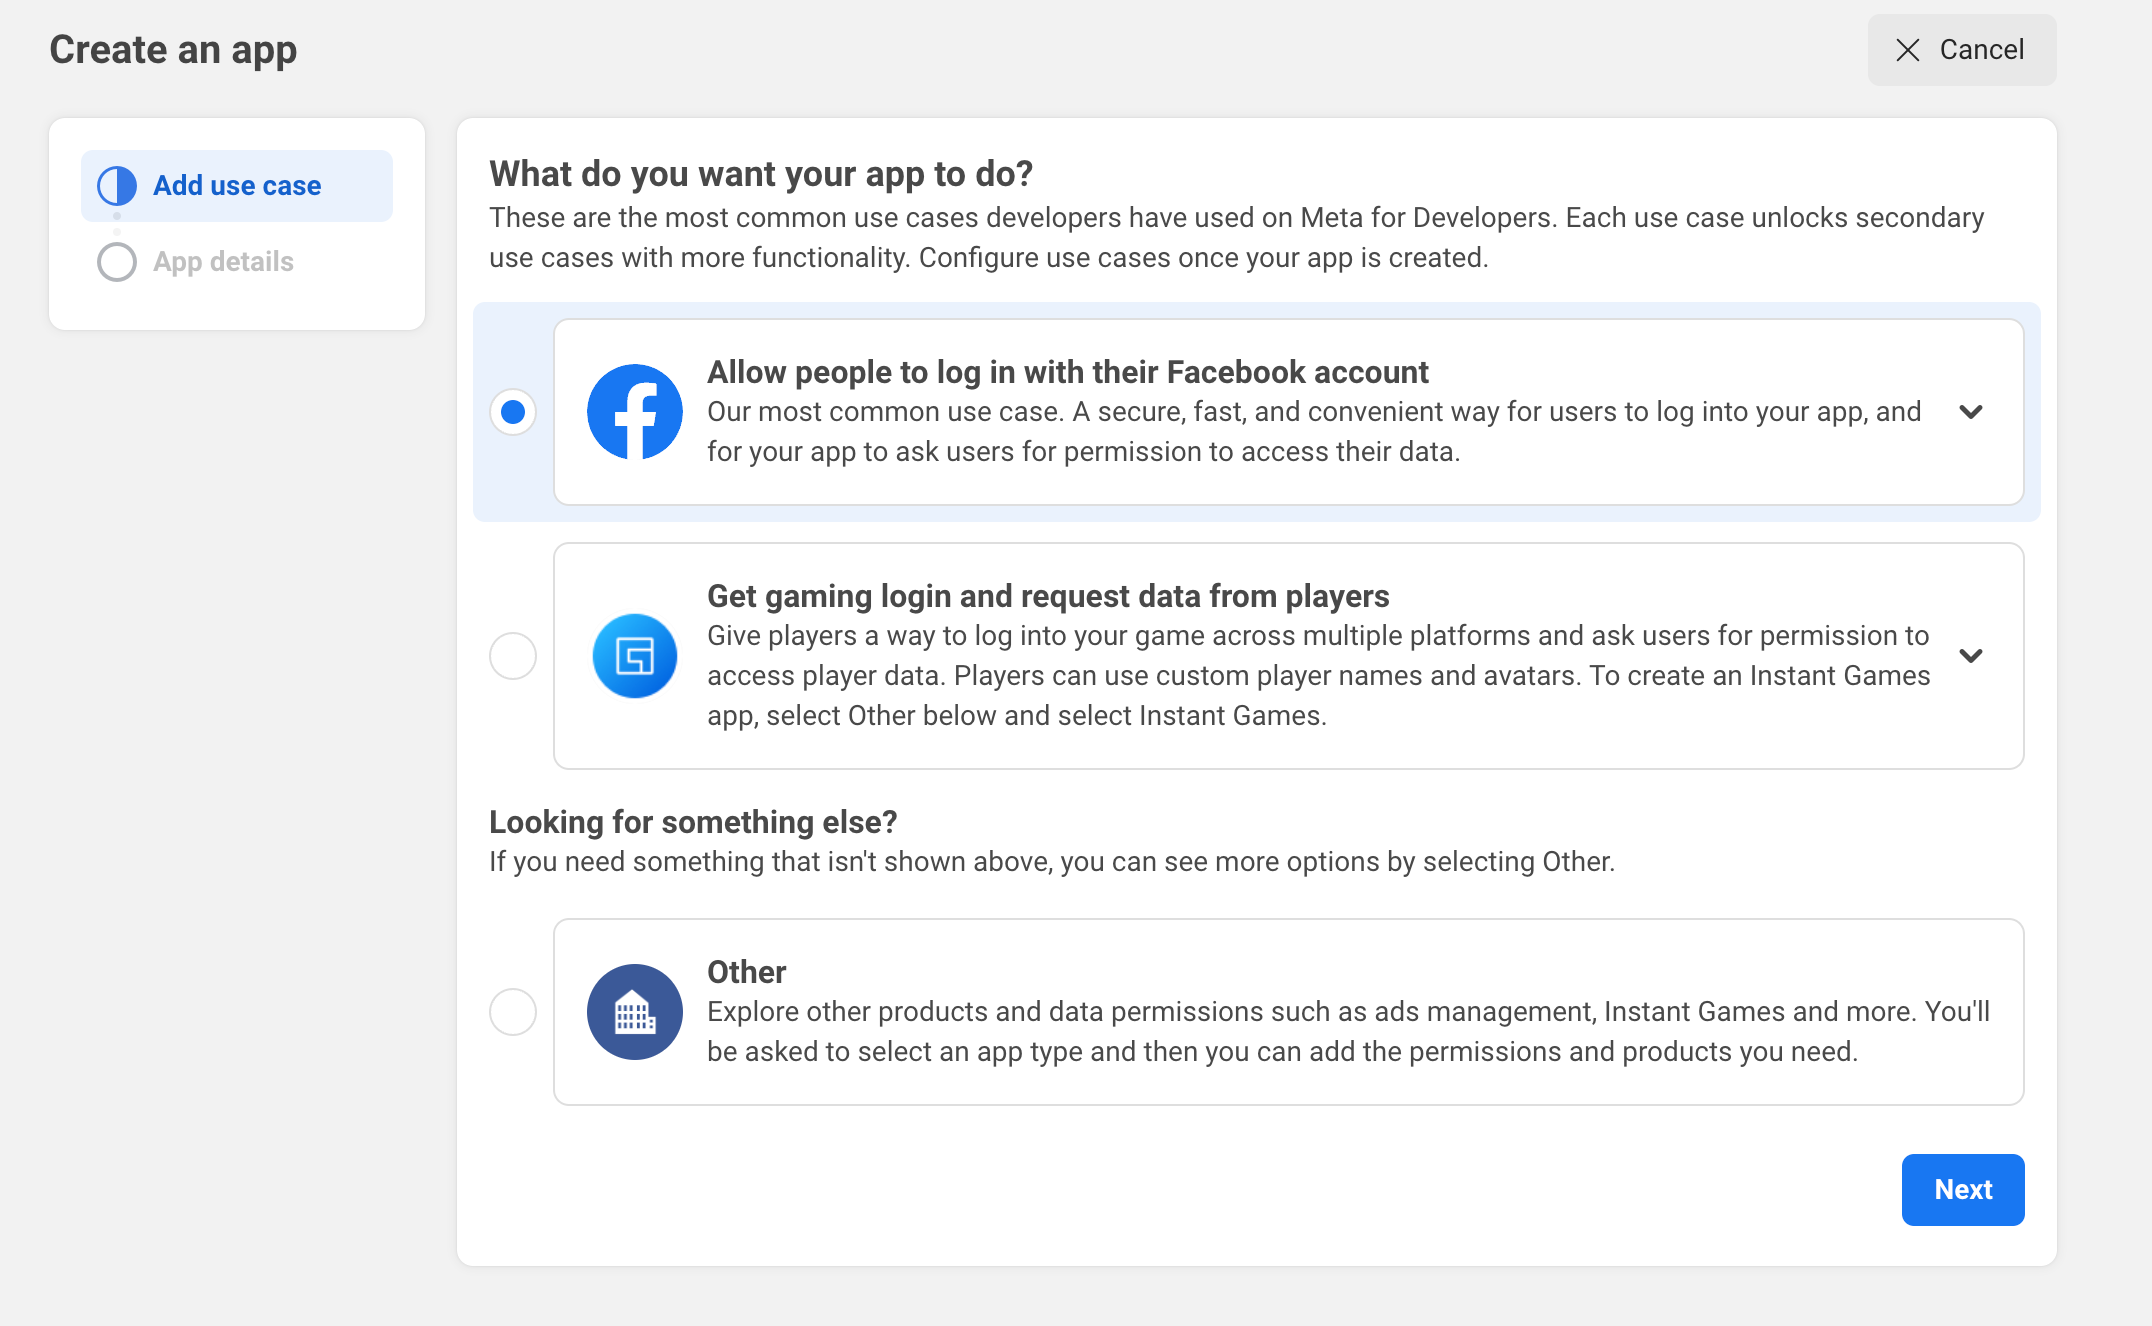
Create a New App:
- Navigate to the My Apps section and click Create App.
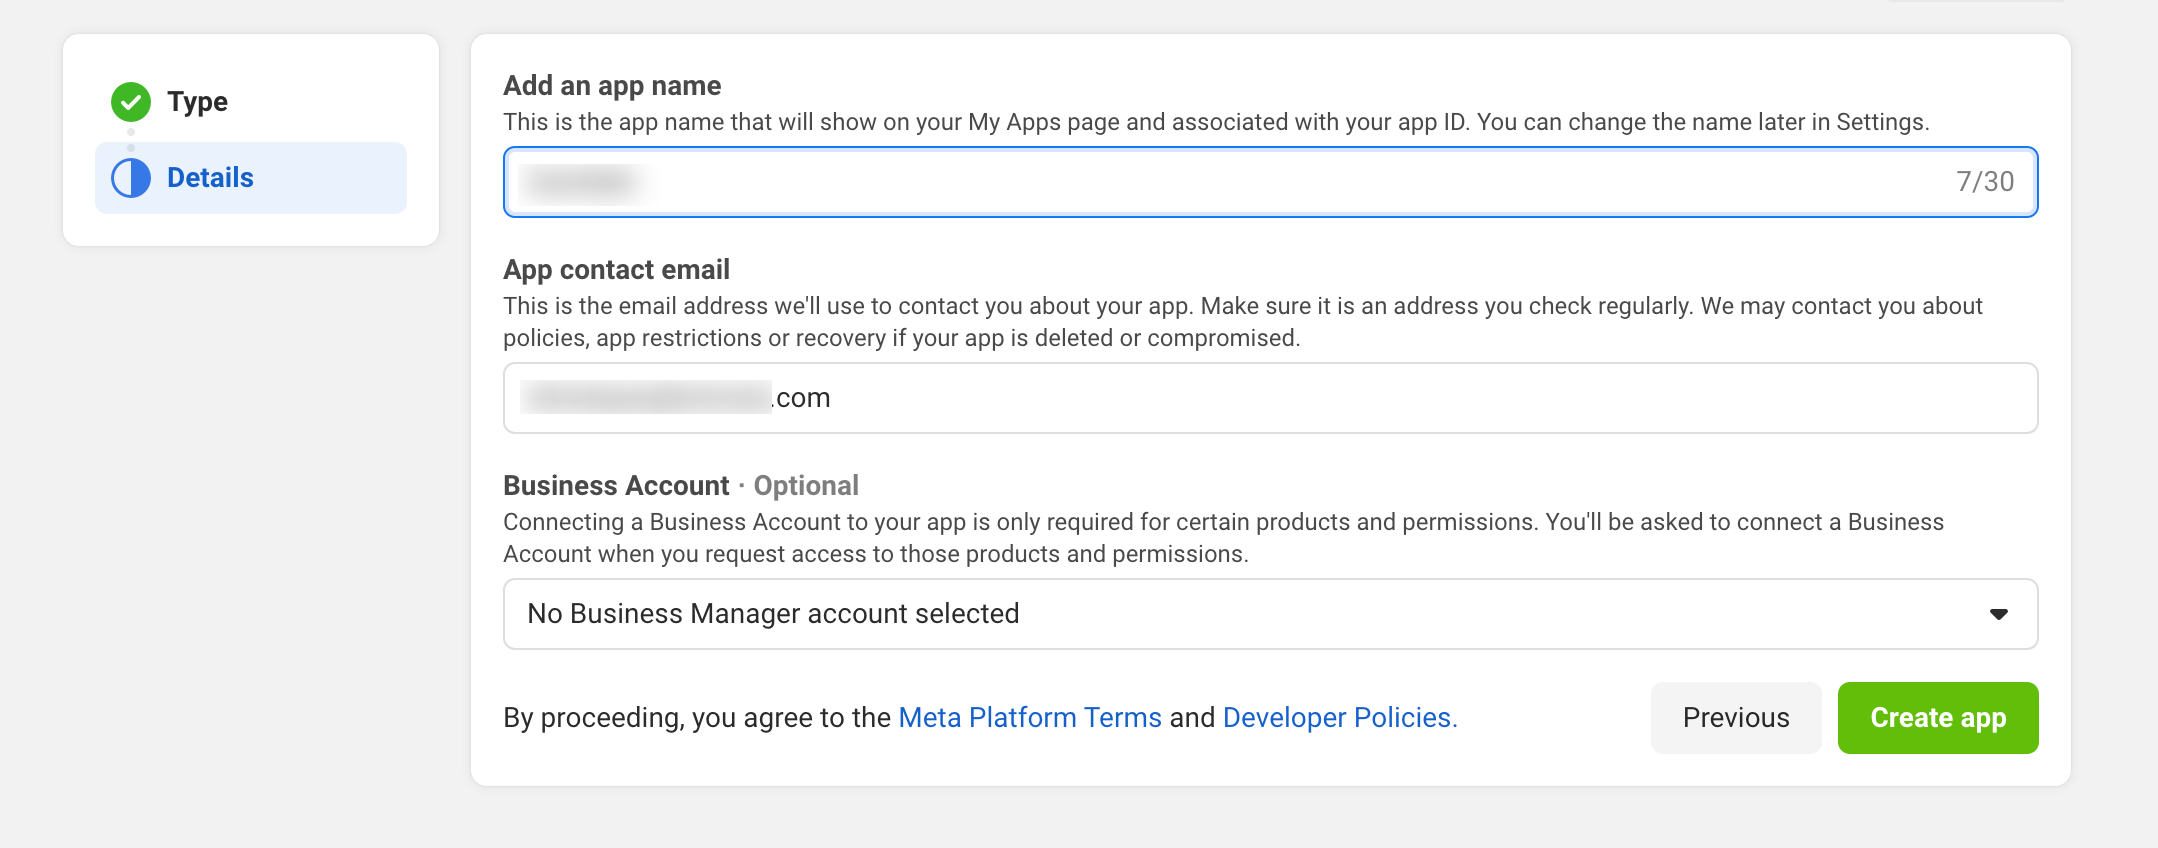
- Choose the app type as Business and fill in the required details like the app name and contact email.
- Click Create App ID.
-
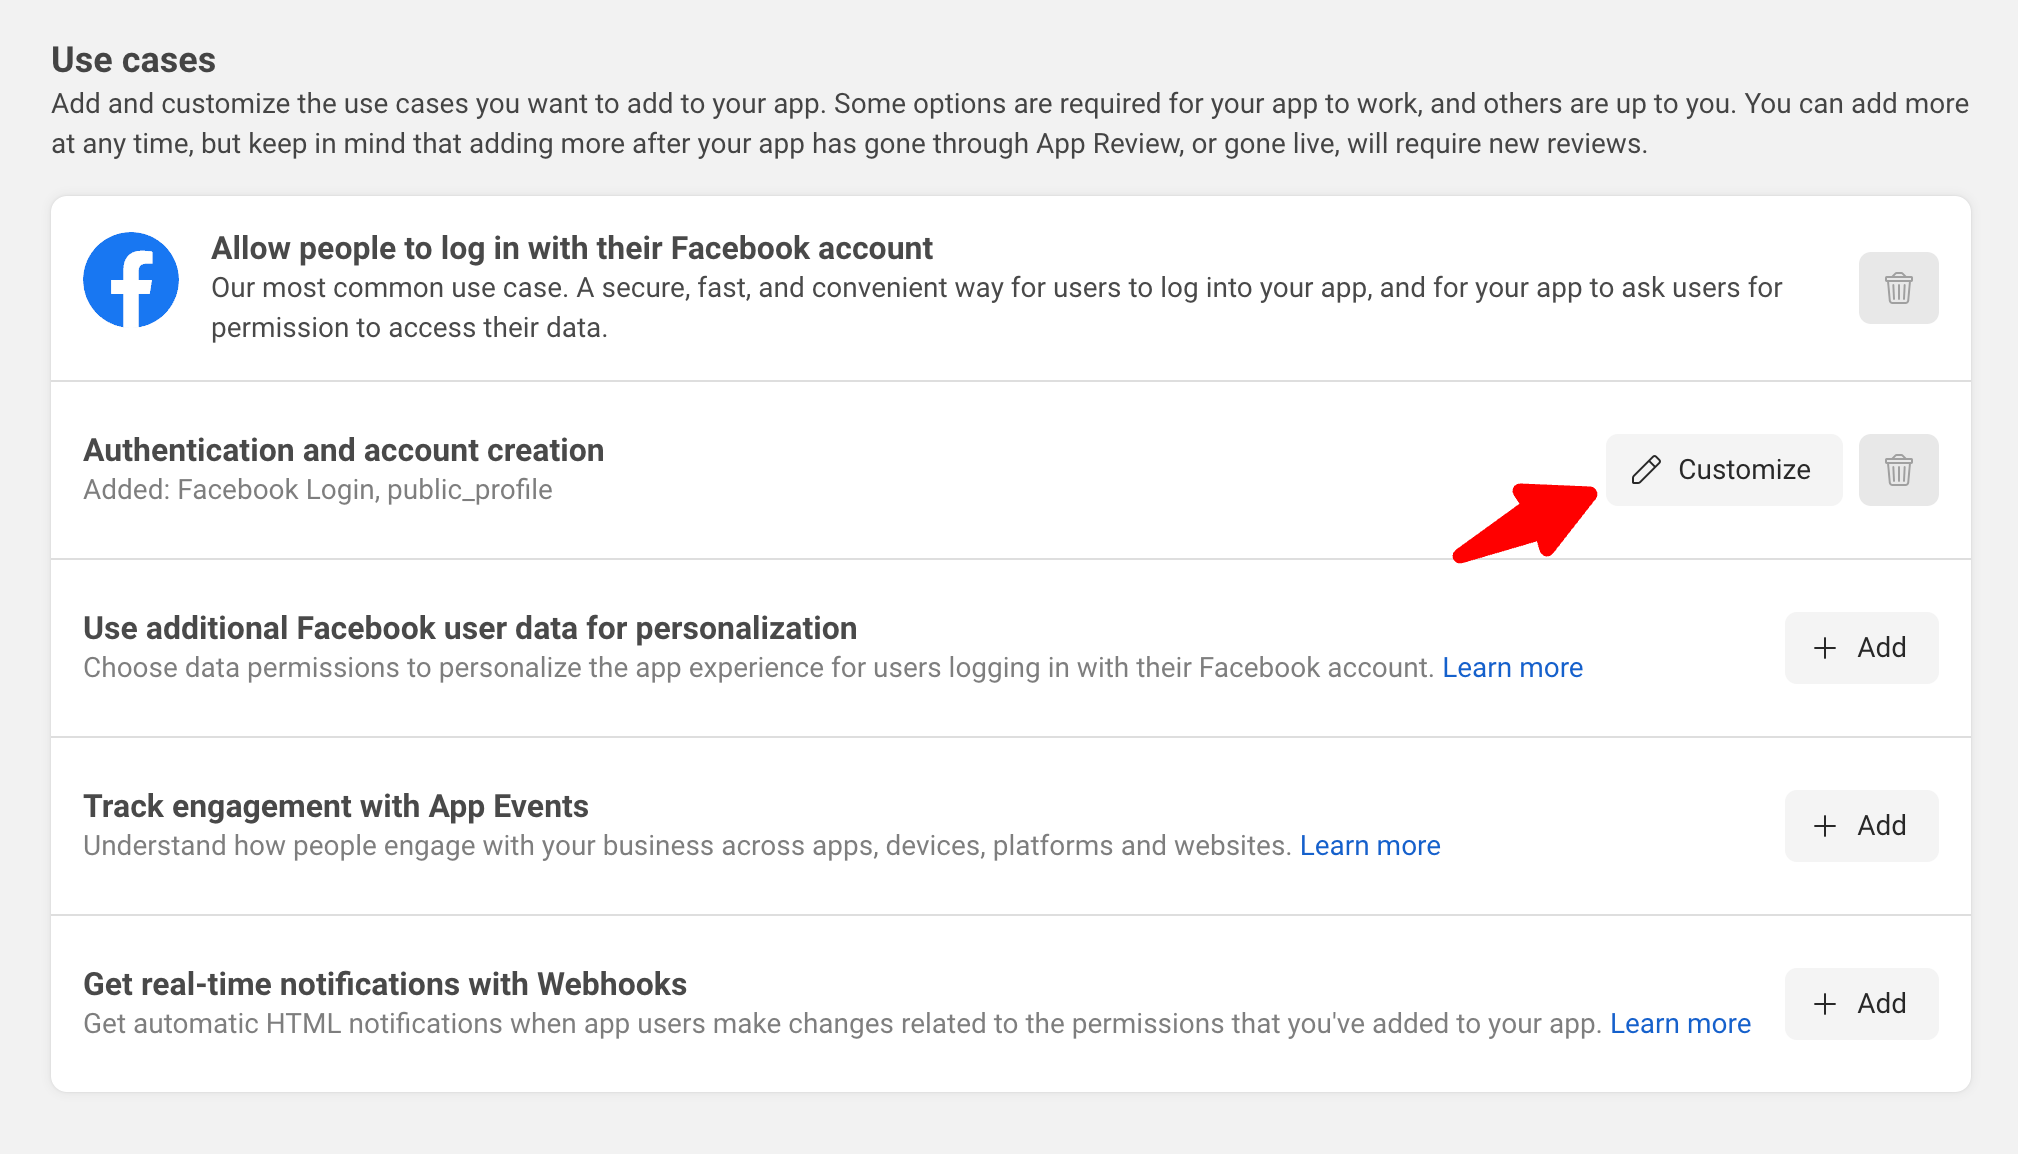
Select App Services:
- In the app dashboard, click Set Up under Facebook Login.
-
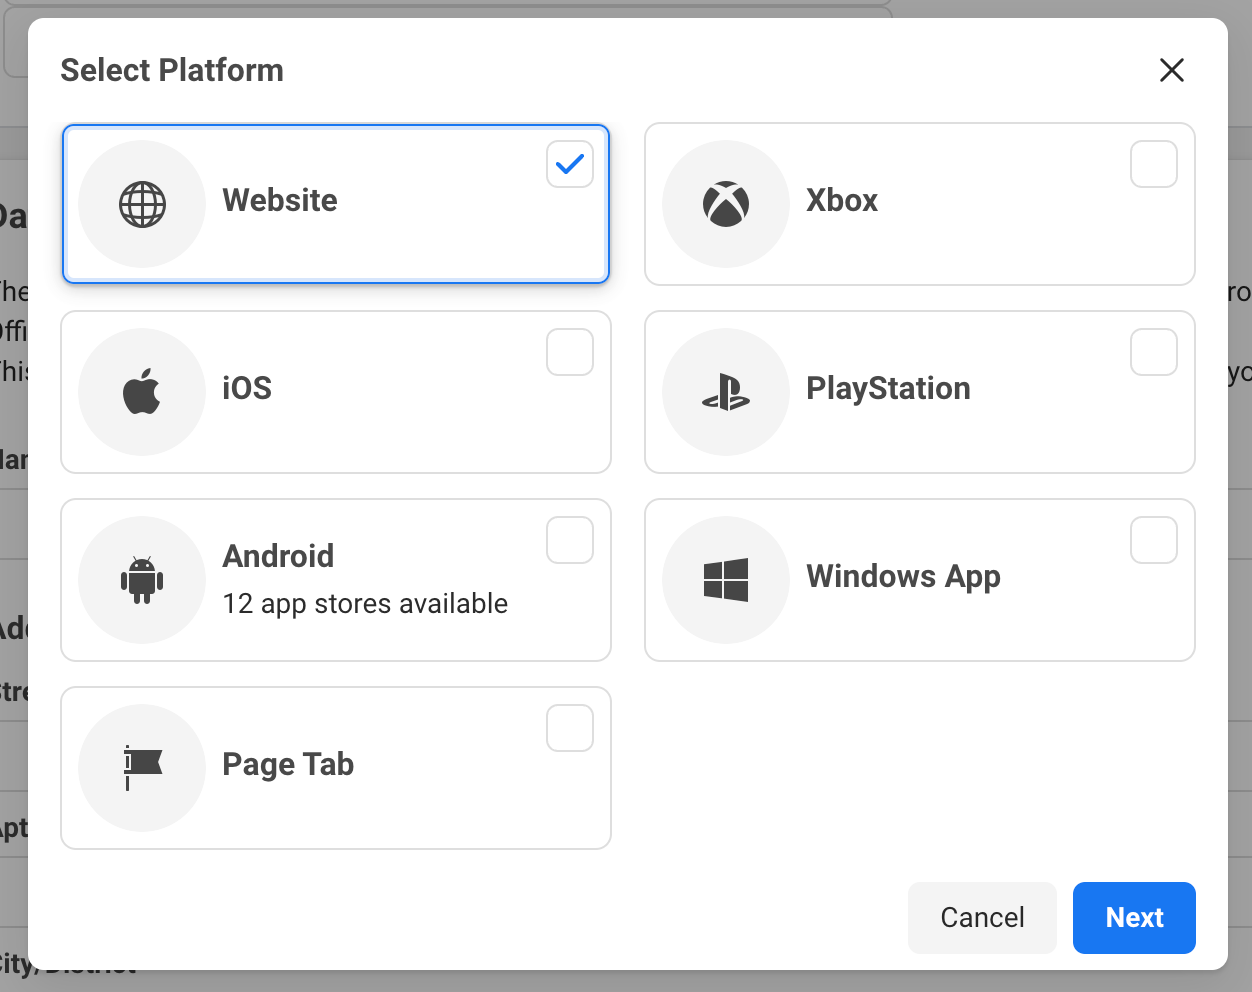
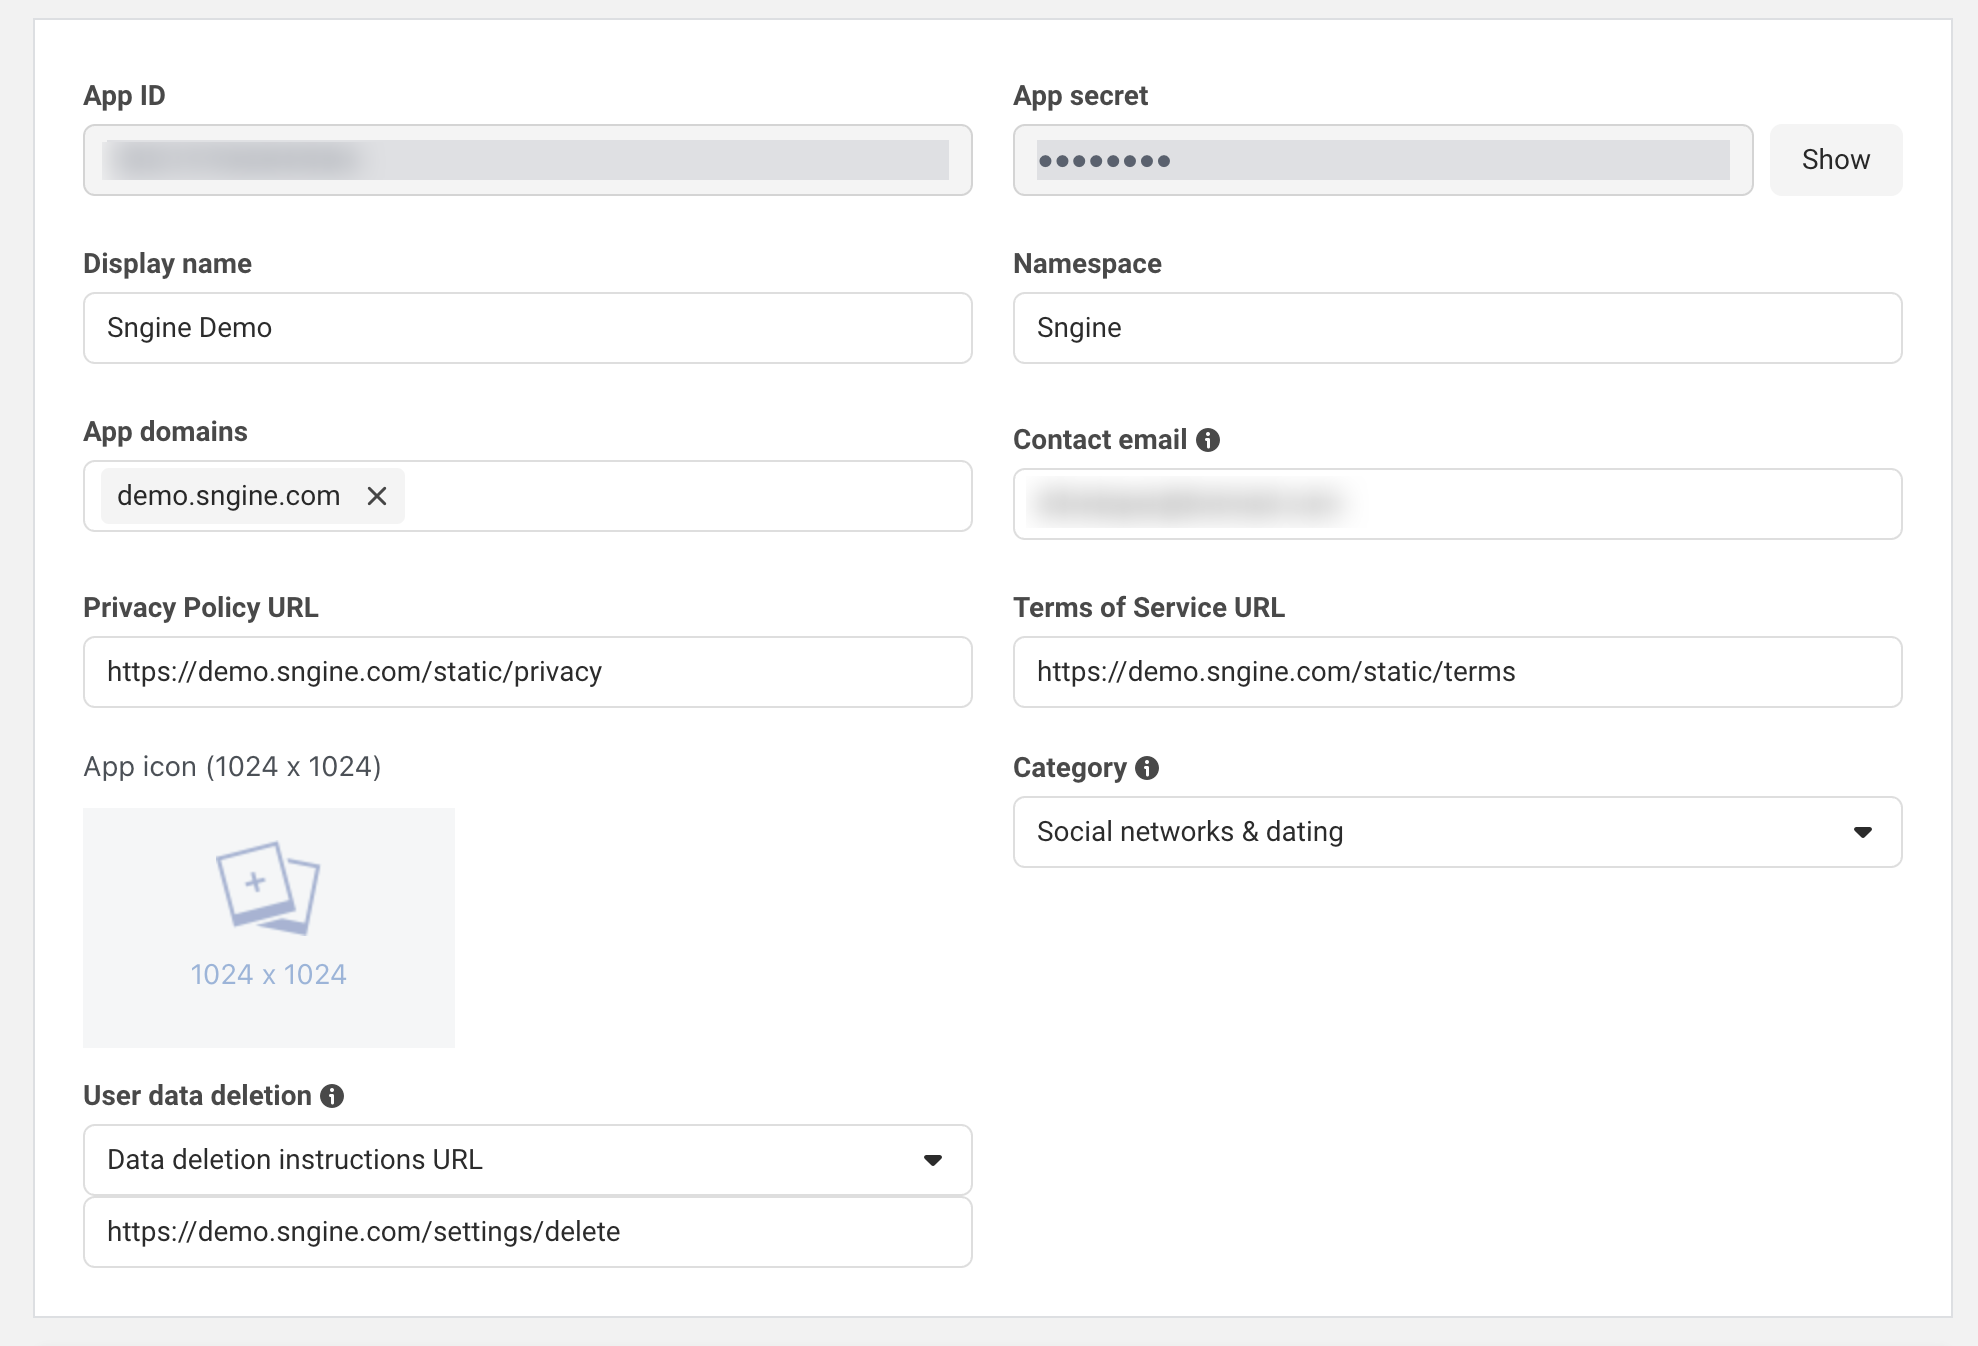
Configure App Domains:
- Go to Settings > Basic in the left sidebar.
- Add your website’s domain in the App Domains field (e.g.,
yourwebsite.com). - Provide valid Privacy Policy URL and Terms of Service URL.
Step 2: Obtain Facebook Credentials (App ID and App Secret)
-
Generate Keys:
- In the app dashboard, go to Settings > Basic.
- Note down the App ID and App Secret. Click Show for the App Secret and verify with your Facebook account.
-
Configure Valid OAuth Redirect URIs:
- Go to Facebook Login > Settings in the left menu.
- Add the following redirect URIs based on your Sngine installation:
- If installed at
https://yourwebsite.com, usehttps://yourwebsite.com/connect/facebook. - If installed in a subfolder, e.g.,
https://yourwebsite.com/sngine, usehttps://yourwebsite.com/sngine/connect/facebook.
- If installed at
-
Enable the App:
- Switch your app from development mode to Live by clicking the toggle in the app dashboard.
Step 3: Integrate Facebook Login with Sngine
-
Access the Sngine Admin Panel: Log in to your Sngine admin dashboard and navigate to Settings > Registration Settings.
-
Enable Facebook Login:
- Go to the Social Login tab.
- Paste the App ID and App Secret obtained from Facebook into the corresponding fields.
- Save your changes.
-
Test the Integration:
- Log out of your admin panel and try logging in using the Login with Facebook button.
- Ensure that the login process redirects users correctly and imports their details.
Troubleshooting Common Issues
-
Redirect URI Errors: Ensure that the redirect URI in Facebook matches your Sngine setup precisely.
-
Invalid App Credentials: Double-check the App ID and App Secret for accuracy.
-
App in Development Mode: Switch your app to Live Mode under the Facebook Developer dashboard.
Best Practices for Social Login Setup
-
Use SSL (https): Always use an SSL certificate for your domain to ensure secure data exchange.
-
Test Extensively: Verify the login functionality across different devices and browsers.
-
Update Regularly: Keep your Facebook app updated to comply with API changes and new policies.
- Noțiuni de bază
- Customization and Themes
- Plugins and Extensions
- SEO and Marketing
- Web Hosting and Performance
- Monetization and Business
- Community Building
- E-commerce and Marketplace
- Security and Privacy
- Development and Coding
- Bug Reports and Fixes
- Hosting Reviews
- Success Stories
- FAQs and Guides
- Feature Requests
- Social Media Integration
- Event Management
- Analytics and Reporting
- Collaborative Projects
- Sngine Updates and News
- Theater
- Wellness


